Sunday, 3 January 2016

Digital Collage

This is my digital collage that I made during the computerized part of the session. This collage was made from photographs I had gathered from inside and around the Design Centre. 


This was a good exercise for me to play around with Photoshop and re-familiarize myself with different effects and tools within the program.

Physical Collage

This piece of work was created during the collage session, this was one of the outcomes from the spontaneous layout section of the workshop. I photographed all of the different layouts that were created from this and then decided to stick down and commit to this layout. 

I am use to designing something and knowing what the final product will somewhat look like so that session was different for me as I didn’t really have any control over what the outcome would be.

Life Drawing

This is my best piece from the life drawing sessions from week 5 I found this session useful as it allowed me to brush up on my life drawing skills. I found this session very enjoyable it was a nice change of pace to sit in the studios and draw what was in front of me. 


I found the drawing of other students within the class a good experience as it allowed me to draw different figures and gestures.

Wallpaper Paste Papers

This piece was made during the mark making session, this is another material making technique that I have not done before. I was unsure about how my work would turn out whilst using this technique, the overall design looks very nice once it has dried on the page. I have used one of these pieces as a en-paper within my sketchbook, I think that it is a nice edition to my work as it is something I have not tried before.

Mono Print

This is my mono print, I found this piece of the workshop interesting as I do not have much experience with mono print; however, I found the outcome very nice. The drawing on the mono print is the mascot from my    word-press page, i chose to use this drawing to do on the mono print as I knew the drawing had to be done in a certain amount of time before the ink dried.

Crushed Packaging

This is a scan of two of my drawings from the crushed packaging exercise. This task was very useful as it helped me develop my drawing skills, by looking at text in a different way that I am use to.


 It was difficult to make sure I was drawing the font as I could see it and not how I know it to look. Both of these images were drawn using a pencil then re-drawn using a fineliner to make the lines bolder and darker.

Vinyl Lettering & Book Binding

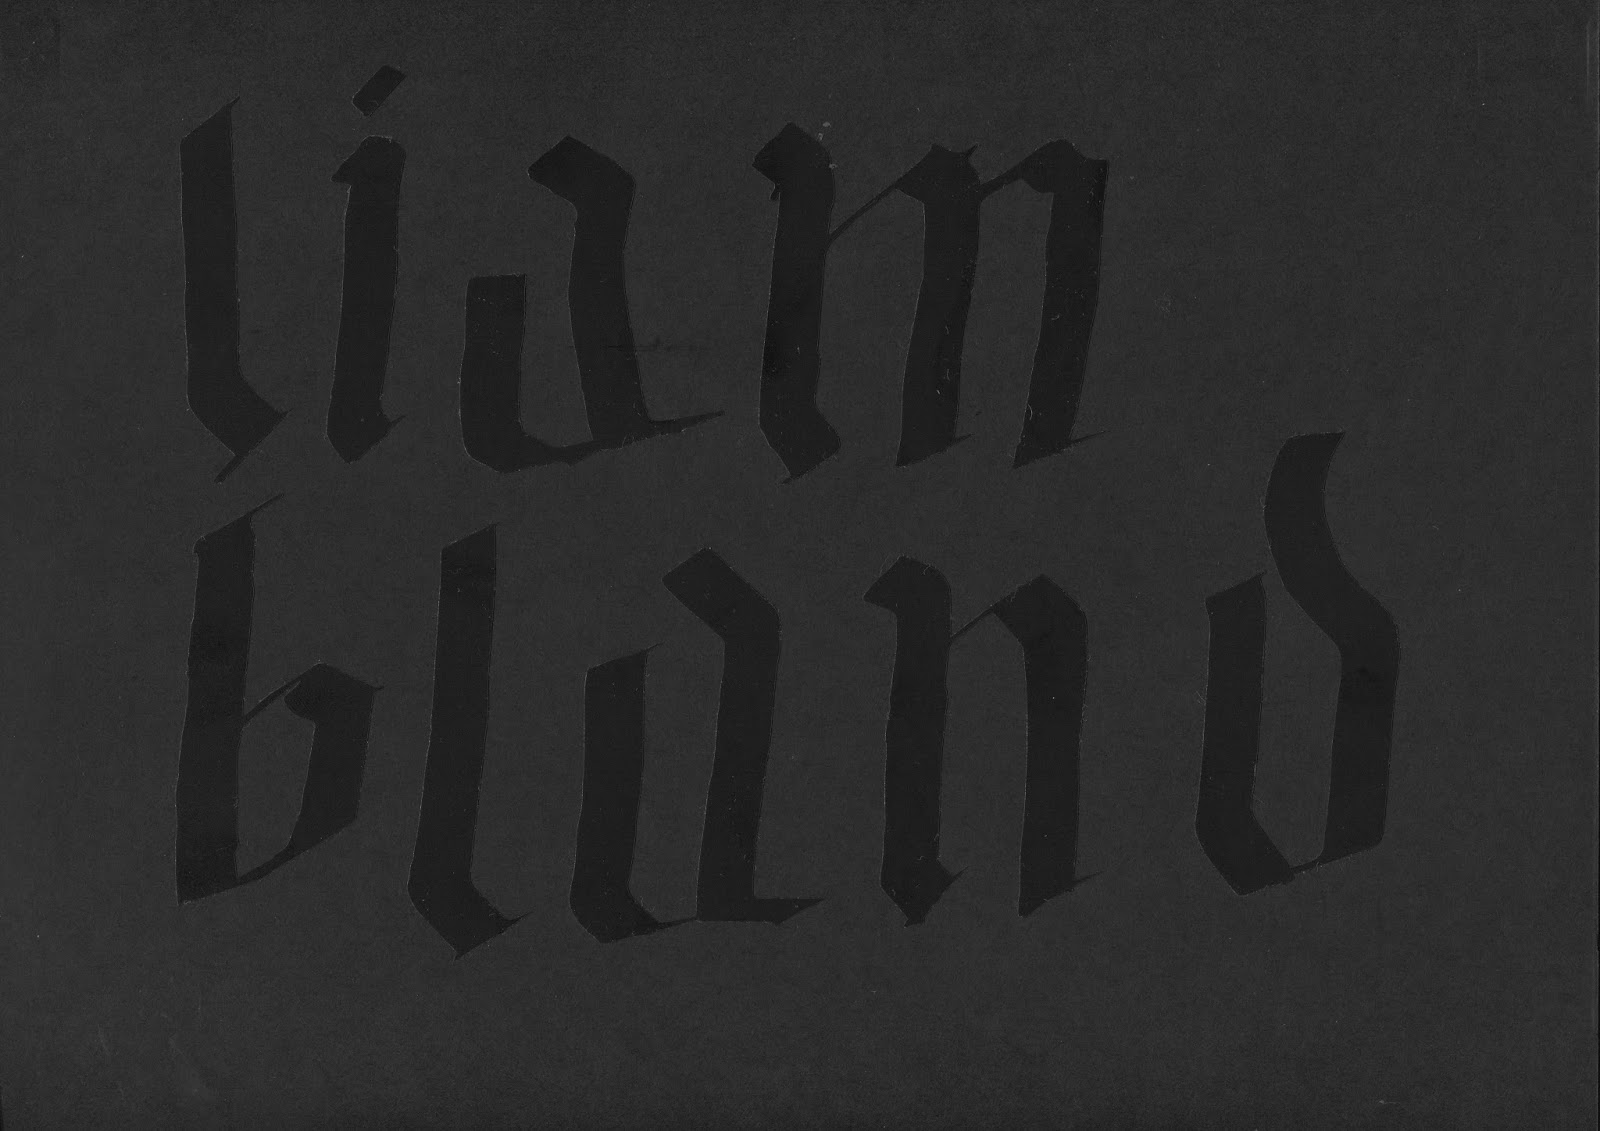
These are the images I gathered from my vinyl lettering session using the made calligraphy on Illustrator.  Once the image was scanned into the computer I then vectorized it in Illustrator. 
After vectorizing the image it was cut out on the laser cutter and then placed onto my sketchbook. 


These images show the inside and outside of my sketchbook. The top image shows my completed sketchbook with my vinyl lettering on the front. The bottom image shows the binding method used to make my sketchbook, this method only uses paper not glue or staples.

This sketchbook has been very useful to document ideas and do sketches before committing to an idea, the black slider makes it easier to refile the sketchbook and the flap is perfect for storing extra content such as leaflets or sheets handed out during the workshops.

Tuesday, 29 December 2015

Hand Lettering

These are the images I gathered from my hand lettering session using the made calligraphy pen. After a few attempts this was the best I had before going into the computer room to scan it into Adobe Illustrator. 


Once I had the scanned calligraphy onto the computer, I then moved it into Illustrator to vectorize it for the next session. This is the final image I came out with that was then cut out on the vinyl cutter.

Word Associated with Type

This phrase was made using the font types given to me during the session, I made a few different phrases and decided to stick with this one. 


Once I had crated the paper version I then scanned it in and began to do the touch ups before exporting it as a finished file.

Mark Making

With the mark making workshop I was looking at different font styles, as seen in the landscape image. This was my first attempt at using a homemade calligraphy pen, I thought that the pen made very good marks and I have continued to practice with it since. Using the pen that I made in the session with Manny I then went on to try adding patterns around lettering with a fine-liner to see if i could use this technique further on in the project.

.